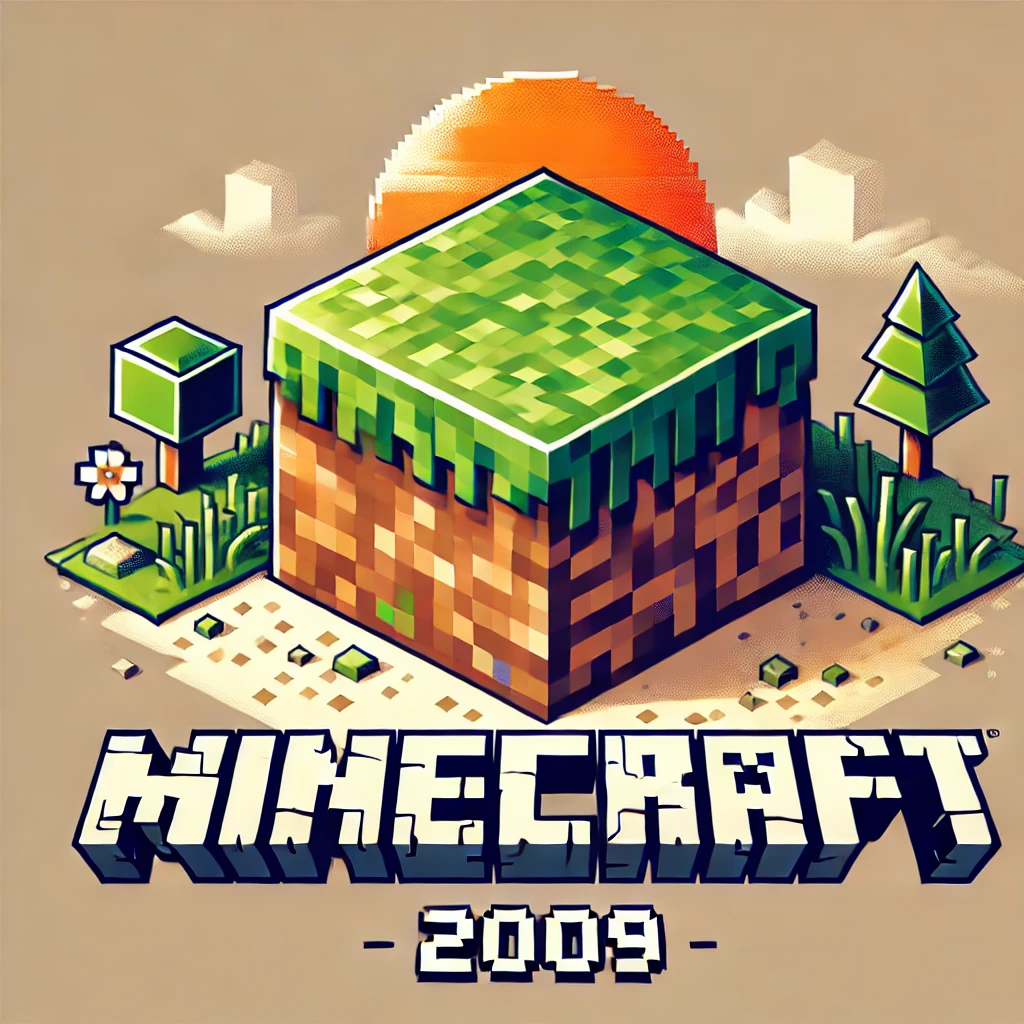
How to Customize Minecraft (2009) Game Icons Easily
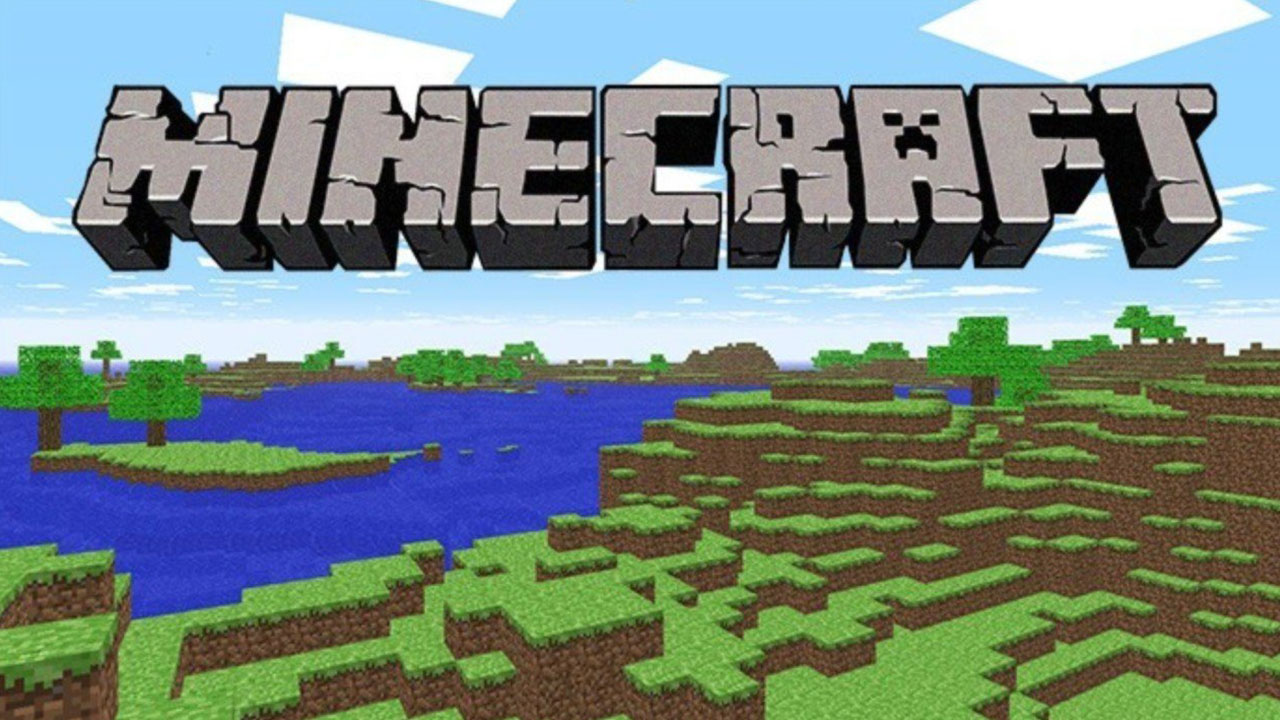
Since its release in 2009, Minecraft has evolved from a simple indie game into a global cultural phenomenon. With its iconic blocky graphics, open-world gameplay, and endless possibilities for creativity, Minecraft has captured the imagination of millions of players. One of the aspects that make Minecraft so beloved is its customizable nature, allowing players to personalize almost every aspect of their experience, including game icons. In this guide, we’ll explore how to customize Minecraft (2009) game icons easily, giving your game a unique look and feel that reflects your personal style.
Why Customize Minecraft (2009) Game Icons?
Customizing game icons may seem like a small change, but it can significantly enhance your Minecraft experience. For players who enjoy modding or adding personal touches to their gameplay, changing the default icons for different elements of the game is a natural extension of their creativity. Whether you want to make the game more visually appealing, create a unique theme, or simply personalize your game setup, customizing icons can help achieve that.
By customizing icons, you can alter the appearance of various in-game items, such as tools, weapons, blocks, or even your game’s launcher icon. This not only allows for personalization but also helps in creating a more immersive experience, especially if you’ve designed a themed world or server. For instance, if you’re creating a medieval-themed world, customizing your tools and weapons to look like medieval swords and hammers can make the game more cohesive and visually interesting.
Understanding Minecraft Icon Formats and Requirements
Before diving into the customization process, it’s important to understand the basic formats and requirements for Minecraft icons. Minecraft uses PNG files for its icons and textures, making them easy to work with for even novice users. PNG (Portable Network Graphics) is a common image format that supports transparency, which is essential for ensuring that your icons look crisp and professional in the game.
For the best results, icons should be square and typically range from 16×16 pixels to 128×128 pixels in size, depending on the item or block they represent. The Minecraft launcher icon, for instance, is usually larger, around 256×256 pixels. Using higher resolution images ensures that your icons look sharp, even when viewed in different contexts within the game.
To edit these PNG files, you can use any image editing software, such as Photoshop, GIMP, or even basic tools like Microsoft Paint. The key is to ensure that you maintain the transparent background and appropriate pixel size for each icon you’re working with.
How to Find and Extract Existing Minecraft Icons
The first step in customizing Minecraft icons is to locate and extract the existing icons from the game files. These icons are part of the game’s texture pack, which includes all the visual elements for blocks, items, and the user interface. To access the game’s texture files, follow these steps:
- Open the .minecraft folder: On your computer, navigate to the Minecraft directory. This can typically be found by searching for “%appdata%” in your computer’s file explorer (for Windows) and then opening the “.minecraft” folder. For Mac users, the directory is located in
~/Library/Application Support/minecraft. - Navigate to the textures folder: Once inside the .minecraft folder, locate the “resourcepacks” or “versions” folder. Inside this folder, you will find the jar files for each version of Minecraft. You’ll need to open the jar file that corresponds to the version of the game you’re using. This jar file can be opened using software like WinRAR or 7-Zip.
- Extract the PNG files: After opening the jar file, navigate to the “assets” folder, and inside, you’ll find the “textures” folder. This is where all the texture and icon PNG files are stored. Extract these files to a separate folder on your desktop or any location where you can easily access them.
By extracting these existing icons, you’ll have a reference for what you need to modify, as well as a base template for creating your custom icons.
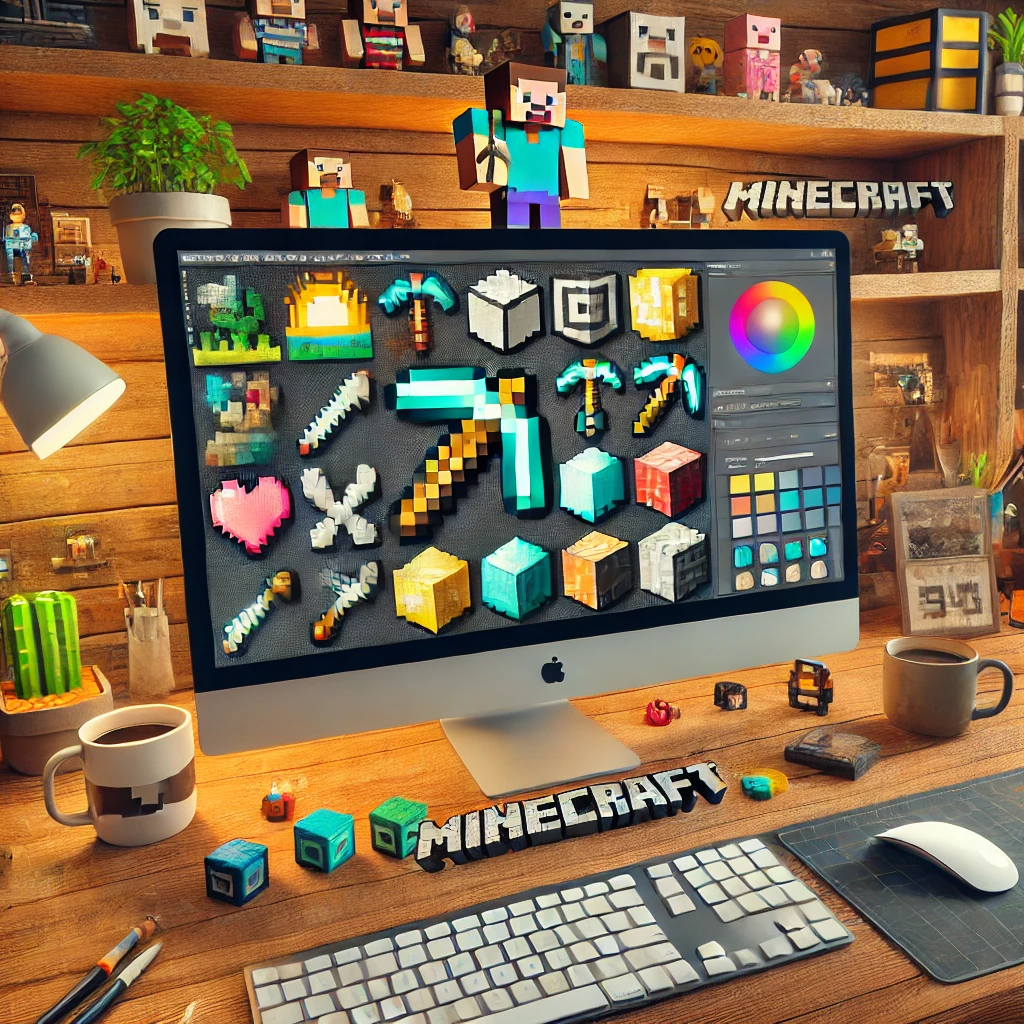
Customizing Minecraft Icons: Step-by-Step Guide
Now that you have access to the default Minecraft (2009) icons, it’s time to start customizing them. Here’s a step-by-step guide to help you through the process.
1. Choose an Icon to Customize
Decide which in-game icons you want to customize. For example, you might want to change the appearance of the pickaxe, sword, or any block within the game. Using the extracted PNG files, locate the corresponding item or block icon that you’d like to alter.
2. Open the Icon in an Image Editor
Using your preferred image editing software (Photoshop, GIMP, Paint.NET, etc.), open the PNG file of the icon you want to customize. Make sure that the background of your icon is transparent, as this will ensure that it looks clean when used in the game.
3. Design Your Custom Icon
Now comes the fun part—designing your custom icon! You can draw over the existing icon or create something entirely new. For beginners, it might be easier to start by modifying the color or small details of the default icon. For more advanced users, creating an icon from scratch allows for greater personalization.
For example, if you’re customizing a sword, you could change the color of the blade, add a glow effect, or even replace the entire design with something completely new, like a futuristic laser sword.
4. Save Your Icon with the Correct Settings
Once you’ve finished customizing your icon, save the image as a PNG file. Make sure that the size and dimensions match the original icon, as Minecraft will automatically resize the icon if it doesn’t fit, which could result in a loss of quality. It’s crucial that you preserve the transparency of the image, so ensure that the background layer is disabled before saving.
5. Replace the Default Icon with Your Custom One
To replace the default icon with your custom one, navigate back to the folder where you extracted the Minecraft textures. Find the corresponding file for the icon you customized, and simply replace the original PNG file with your new one. Be sure to keep the file names identical, as Minecraft relies on specific file names to display the correct textures.
Adding Your Custom Icons to Minecraft
Once your custom icons are saved and ready, you’ll need to add them back into the game. If you’re working with a resource pack, this process is straightforward. Resource packs allow you to modify textures, sounds, and even the user interface without changing the base game files.
- Create a new folder: Inside the “resourcepacks” folder in the .minecraft directory, create a new folder for your custom resource pack.
- Add your icons: Copy your customized PNG files into the appropriate texture directories inside your new resource pack folder. For example, place item icons in the “textures/items” folder, and block icons in the “textures/blocks” folder.
- Create a manifest file: To make Minecraft recognize your resource pack, you’ll need a manifest file (pack.mcmeta) that contains basic information about your resource pack. You can find templates for this file online.
- Activate your resource pack: Launch Minecraft and go to the “Options” menu, then select “Resource Packs.” You should see your custom resource pack listed. Activate it, and your custom icons will appear in-game.
Conclusion
Customizing icons in Minecraft (2009) is a fun and creative way to personalize your gaming experience. Whether you’re modifying the appearance of weapons, tools, or blocks, or even designing a custom launcher icon, the possibilities are endless. By following the steps outlined in this guide, you can easily customize Minecraft icons, giving your game a unique look that reflects your personality and style. With the right tools and a bit of creativity, your Minecraft world can be completely transformed, making your time in the game even more enjoyable. Happy crafting!


